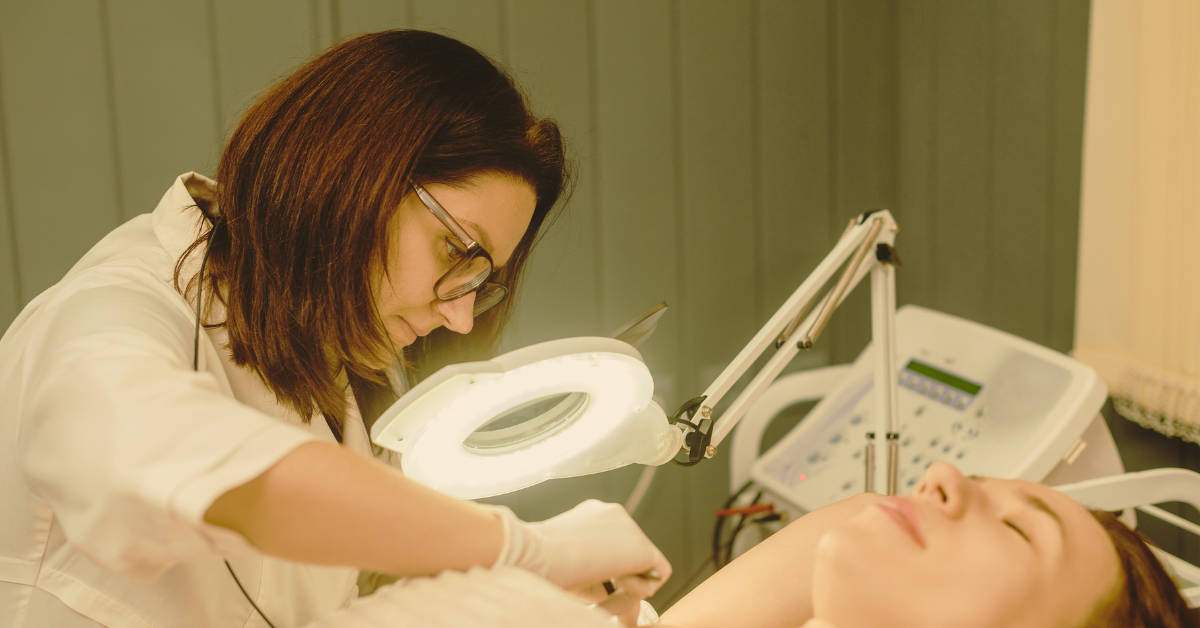
If you’ve recently undergone electrolysis treatment and noticed small white bumps appearing on your skin, you’re not alone. These temporary skin reactions are a common occurrence that many women experience during their permanent hair removal journey. Understanding what these bumps are, why they form, and how to manage them can help you navigate your electrolysis treatments with confidence and peace of mind.
As a research-driven woman investing in permanent hair removal solutions, you deserve clear, evidence-based information about what to expect from your treatments. This comprehensive guide will walk you through everything you need to know about small white bumps after electrolysis, from the science behind their formation to practical tips for prevention and care.
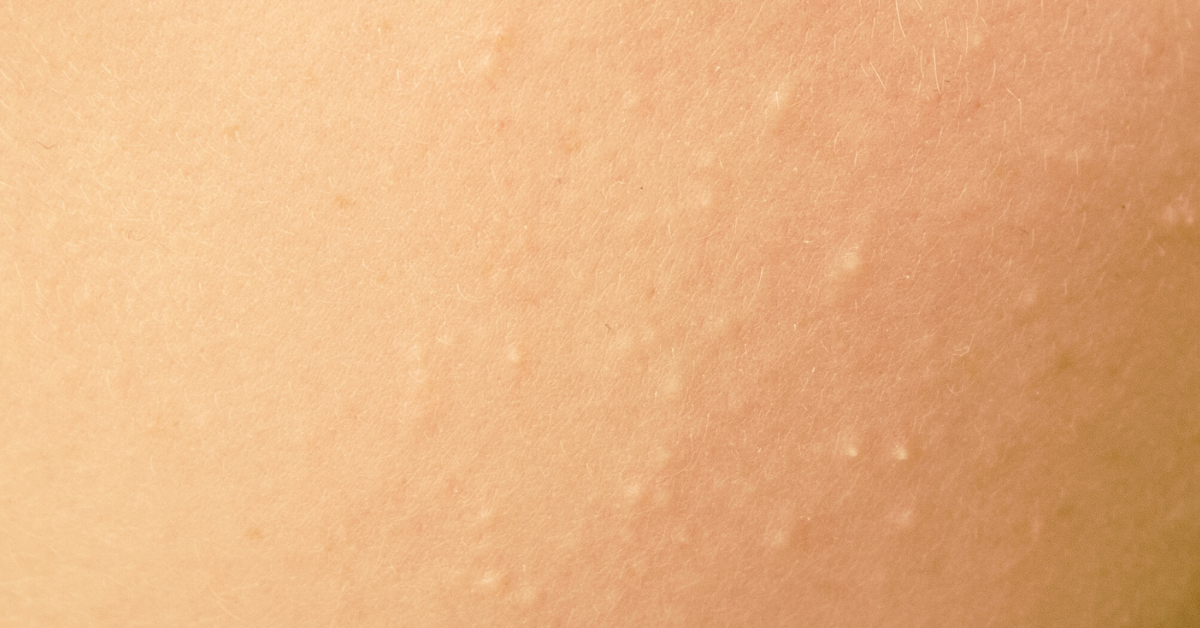
What Are Those Small White Bumps After Electrolysis?
Small white bumps that appear after electrolysis treatment can be one of several types of skin reactions, each with different characteristics and causes:
1. Whiteheads (Pustules)
These are the most common type of white bumps following electrolysis. They appear as small, white or yellowish raised spots with a visible white tip, similar to acne pustules but smaller in size.
Characteristics:
- Appear 24-72 hours after treatment
- Contain white or yellow fluid
- Usually resolve within 3-7 days
- Most common on the face, chest, and back
2. Milia
These are tiny, hard white bumps that form when keratin (a protein found in skin) becomes trapped beneath the skin’s surface. Unlike whiteheads, milia are solid and cannot be squeezed out.
Characteristics:
- Feel like tiny grains of sand under the skin
- Appear white or yellowish
- Can persist for weeks or months
- More common in areas with thicker skin
3. Blood Scabs
Fine white or honey-colored scabs that form when tiny amounts of blood from the treated follicle dry and rise to the surface.
Characteristics:
- Appear within 1-2 days after treatment
- Look like tiny crusty spots
- Normal part of the healing process
- Usually fall off naturally within 7-14 days
4. Histamine Bumps
White or red raised bumps that appear immediately after treatment due to the body’s inflammatory response.
Characteristics:
- Appear within minutes to hours after treatment
- May be itchy or tender
- Usually subside within 24-48 hours
- More common in sensitive individuals
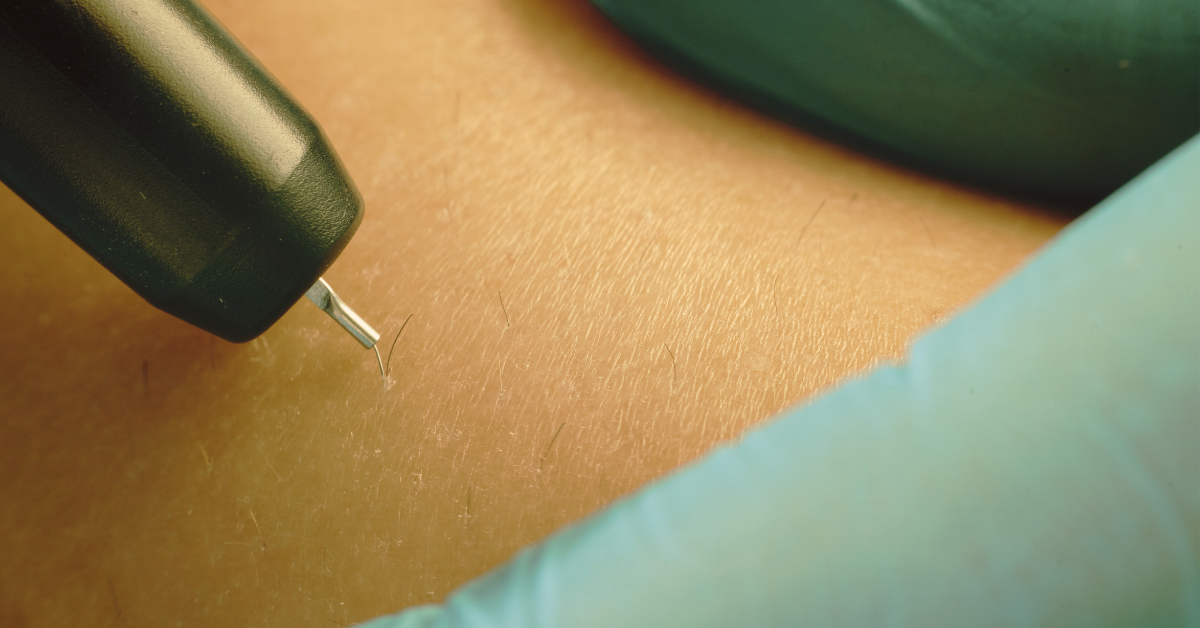
The Science Behind Post-Electrolysis White Bumps
Understanding why these bumps form can help alleviate concerns and guide proper aftercare. During electrolysis, a fine probe is inserted into each hair follicle, delivering either heat (thermolysis), chemical reaction (galvanic), or both (blend method) to destroy the hair root.
This process creates a controlled micro-injury in the skin, triggering several biological responses:
1. Inflammatory Response
Your body’s immune system recognizes the treated follicle as an area needing repair. White blood cells rush to the site, sometimes forming visible white pustules as they work to heal the tissue.
2. Keratin Accumulation
The disruption to the follicle can sometimes trap dead skin cells and keratin beneath the surface, leading to milia formation.
3. Bacterial Colonization
If bacteria enter the open follicle after treatment, they can multiply and create an infection, resulting in whiteheads or pustules.
4. Sebum Production
The sebaceous glands attached to hair follicles may continue producing oil after treatment, which can become trapped and form white bumps.
Common Causes and Risk Factors
Several factors can increase your likelihood of developing white bumps after electrolysis:
Treatment-Related Factors:
- Overtreament: Too much current or duration can cause excessive tissue damage
- Inexperienced technician: Improper probe insertion or current settings
- Contaminated equipment: Non-sterile probes or improper sanitization
- Aggressive treatment: Treating too many hairs in one area
Individual Factors:
- Skin sensitivity: Some people naturally have more reactive skin
- Hormonal fluctuations: Can affect skin’s healing response
- Compromised immune system: Reduces the body’s ability to fight bacteria
- Previous skin conditions: History of acne or folliculitis
Post-Treatment Factors:
- Touching treated areas: Introduces bacteria from hands
- Heavy makeup: Can clog healing follicles
- Excessive sweating: Creates bacterial breeding ground
- Improper aftercare: Not following recommended guidelines
Prevention Strategies: Minimizing White Bump Formation
While some skin reaction is normal after electrolysis, you can take steps to minimize the formation of white bumps:
Before Your Treatment:
- Choose an experienced, certified electrologist
- Avoid caffeine 24 hours before treatment (can increase sensitivity)
- Stay hydrated to support skin healing
- Skip exfoliation 48 hours before treatment
- Arrive with clean skin free of makeup and lotions
During Treatment:
- Communicate discomfort immediately to your technician
- Ask about current settings if you’re experiencing unusual pain
- Request breaks if treating large areas
- Ensure proper sanitization procedures are followed
After Treatment:
- Don’t touch treated areas for at least 24 hours
- Apply recommended antiseptic solutions
- Avoid makeup for 24-48 hours
- Skip the gym for 24 hours to avoid sweating
- Use clean pillowcases and towels
- Apply ice to reduce inflammation
- Keep skin moisturized with non-comedogenic products
Treatment Options for White Bumps
If white bumps do appear after your electrolysis session, here’s how to manage them effectively:
For Whiteheads/Pustules:
- Gentle cleansing with mild, fragrance-free cleanser
- Witch hazel compress for 10-15 minutes, 2-3 times daily
- Tea tree oil diluted with carrier oil (spot treatment)
- Benzoyl peroxide 2.5% for persistent bumps
- Avoid picking or squeezing to prevent scarring
For Milia:
- Gentle exfoliation with salicylic acid (after healing)
- Retinoid creams to encourage cell turnover
- Professional extraction by dermatologist if persistent
- Time and patience – many resolve on their own
For Scabs:
- Keep area clean and dry
- Apply thin layer of petroleum jelly
- Never pick or remove scabs prematurely
- Use silicone scar sheets if concerned about marking
For Histamine Bumps:
- Cool compresses for immediate relief
- Oral antihistamines if severe
- Hydrocortisone cream for persistent inflammation
- Aloe vera gel for soothing relief
When to Worry: Red Flags That Require Professional Attention
While most white bumps after electrolysis are harmless and temporary, certain signs warrant immediate medical consultation:
Seek Professional Help If You Experience:
- Spreading redness or warmth beyond treated area
- Fever or flu-like symptoms
- Severe pain that worsens over time
- Yellow or green discharge from bumps
- Bumps that worsen after 3-4 days
- Large, painful cysts forming
- Signs of cellulitis (spreading skin infection)
- Persistent bumps lasting over 2 weeks
Contact Your Electrologist If:
- Reactions are more severe than previous sessions
- You develop bumps in areas not previously affected
- The same areas repeatedly develop problems
- You have concerns about technique or sanitation
Long-Term Skin Care for Electrolysis Clients
Maintaining healthy skin throughout your electrolysis journey can minimize complications and improve results:
Daily Skincare Routine:
- Morning:
- Gentle cleanser
- Hydrating serum
- Moisturizer with SPF 30+
- Avoid heavy makeup on treatment days
- Evening:
- Double cleanse if wearing makeup
- Treatment serum (retinoids on non-treatment days)
- Night moisturizer
- Spot treatments as needed
Weekly Maintenance:
- Gentle exfoliation 2-3 times per week (avoid 48 hours post-treatment)
- Hydrating mask to support skin barrier
- Assessment of skin’s response to treatments
Monthly Considerations:
- Track menstrual cycle – skin may be more sensitive during certain phases
- Adjust treatment schedule based on skin’s healing response
- Professional facial between electrolysis sessions if desired
Expert Tips for Optimal Results
Based on clinical evidence and professional recommendations, here are expert tips for managing your electrolysis journey:
- Space treatments appropriately: Allow adequate healing time between sessions
- Consider treatment timing: Schedule around important events
- Document your progress: Take photos to track healing patterns
- Communicate openly: Share concerns with your electrologist
- Be patient: Complete hair removal takes time and multiple sessions
- Invest in quality aftercare: Professional-grade products can make a difference
- Consider complementary treatments: LED therapy can speed healing
The Bottom Line: Managing Expectations
Small white bumps after electrolysis are a common, temporary side effect that most clients experience at some point during their treatment journey. Understanding that these reactions are part of your skin’s natural healing process can help reduce anxiety and ensure you’re taking appropriate care of your skin.
Remember:
- Most bumps resolve within 7-14 days
- Proper aftercare significantly reduces complications
- Each session typically results in less reaction as skin adapts
- The end result – permanent hair removal – is worth temporary inconvenience
Conclusion
While small white bumps after electrolysis can be concerning, they’re typically a normal part of the treatment process. By understanding what causes these reactions, implementing proper prevention strategies, and knowing how to care for your skin post-treatment, you can minimize discomfort and achieve the smooth, hair-free results you desire.
Your investment in permanent hair removal through electrolysis is a journey that requires patience and proper care. With the right knowledge and support from qualified professionals, you can navigate any temporary skin reactions with confidence, knowing that each treatment brings you closer to your goal of permanent hair removal.
Remember to always work with certified, experienced electrologists who prioritize your skin’s health and safety. Don’t hesitate to ask questions, voice concerns, or seek professional medical advice when needed. Your skin deserves the best care possible throughout your electrolysis journey.
Frequently Asked Questions
Q: How long do white bumps typically last after electrolysis? A: Most white bumps resolve within 3-14 days, depending on the type and your skin’s healing response.
Q: Can I prevent all white bumps from forming? A: While you can’t prevent all reactions, proper aftercare and working with an experienced technician significantly reduces their occurrence.
Q: Should I stop electrolysis if I get white bumps? A: Not necessarily. Mild reactions are normal, but discuss persistent or severe reactions with your electrologist.
Q: Can I treat white bumps at home? A: Yes, most can be managed with proper cleansing and over-the-counter treatments, but avoid picking or aggressive treatments.
Q: Will white bumps leave permanent marks? A: When properly cared for and not picked at, white bumps rarely leave permanent marks or scars.
Medical Disclaimer: This article is for informational purposes only and should not replace professional medical advice. Always consult with a qualified healthcare provider or certified electrologist for personalized guidance regarding your specific skin concerns and treatment plan.